How To Fix Blurry Photos in Lightroom? 6 Effective Methods

Sometimes, it happens to me that they look blurry when I take pictures. This situation annoys me, so I found the reasons and effective ways to Fix Blurry Photos in Lightroom. I know it will happen to you but not finding the better ways especially when you are editing them in Lightroom. I’m providing you with 6 effective methods that will fix your issues and provide stunning visuals to your pictures.
Before that, you need to know the reasons behind these blurry photos which will be a lack of focus, shaky camera, or shutter speed. Come with me and find the solution to your problem and enhance your editing experience with Lightroom MOD APK.
Reasons For Blurry Photos
Several reasons make your photos blurry and the most common among them are given below:
1- Poor Focus
If you don’t focus while taking pictures then your photos will be blurry. If you click before the lens focuses then your capture picture will also be blurry. Don’t be in a hurry while taking pictures give some time to adjust the camera and then take the pictures.
2- Subject Movement
Shutter speed and subject movements work side by side while taking the pictures. If you are capturing the subject movement and your shutter speed is slow then your pictures will be blurry. You can also cause a motion blur and it also results when the shutter camera remains open for a long time.
3- Camera Movement
A shaky camera will make your photos blur and it also depends upon how hold your camera and how long you can keep your hands in the same state. If your hands get tired then shaky hands will make the photos blur.
Methods to Fix Blurry Photos in Lightroom
Now you have to figure out the reasons that cause your photos blurry. I’m providing you with some effective methods to fix blurry photos in Lightroom. As we know Lightroom is a powerful photo editor that provides an appealing look to your picture.
So, to create an easy for you I’m going to provide you some details about Lightroom tools by which you can fix blurry photos in Lightroom.
Method 1: Sharpen Tools
It is one of the most easiest and effective methods to fix blurry photos in Lightroom. The sharpening tool is present in the develop tab and within a few minutes, you can set the blurriness of your pictures.
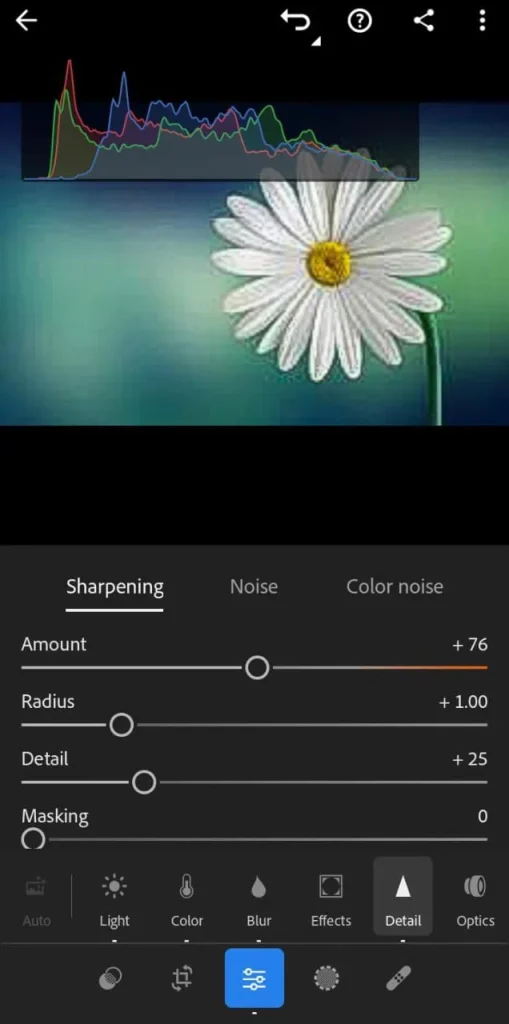
To access this tool go to the right panel and then access its detail section to find the sharpen tools. Then adjust its slides and make your images clearer and effective. It has four sliders that you must know about them.
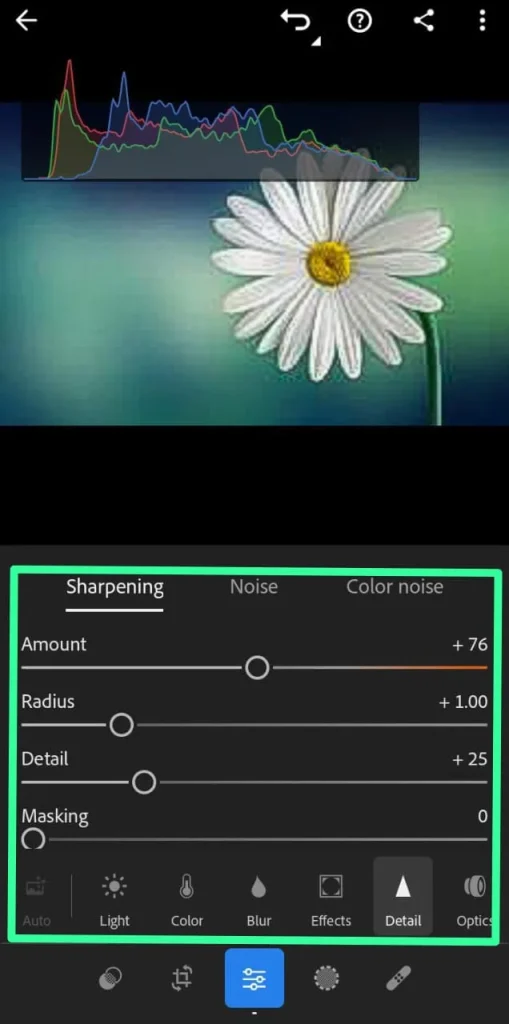
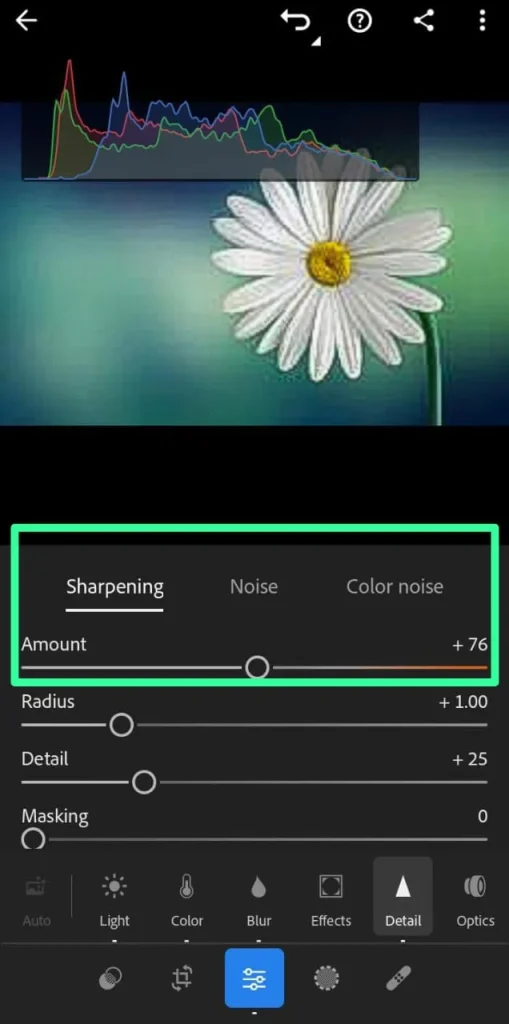
Amount: The first one is the amount slider that allows you to adjust the amount of sharpness by raising or lowering the slider.
Radius: To control the details of sharpness you can use a radius slider. If you increase it then your picture will have more extensive sharpness detail.
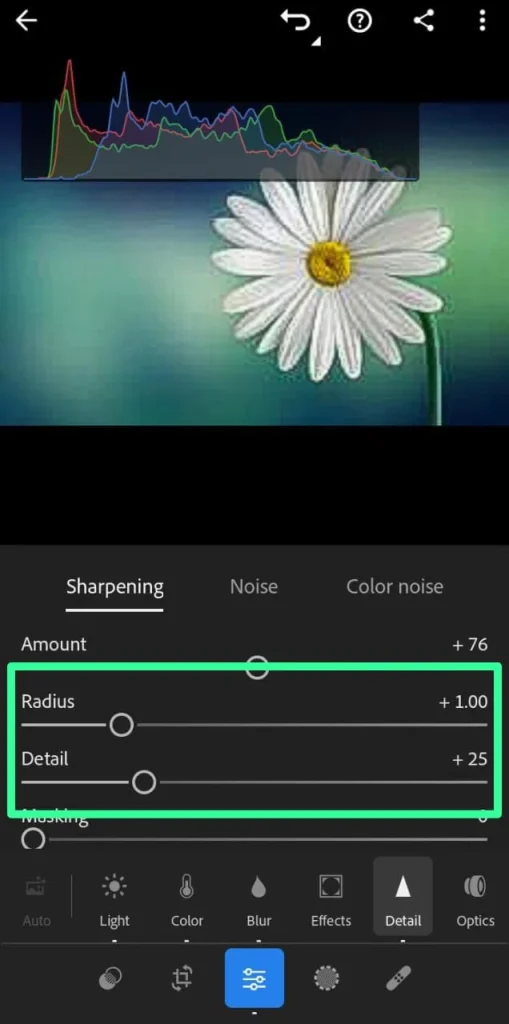
Details: To enhance the pixels of your images try this detail slider. If you keep it at 5 then only large edges will be sharp but setting it to 100 will completely change the look of your images and will make it sharper even with its smaller edges.
Masking: Use a masking slider to cover the areas of the pictures that you don’t want to sharpen. It will keep smooth areas of skin as it is and will provide sharpness to the other blurry parts.
Method 2: Using the Clarity Tool
If you want to make your blurry photos clearer then try the Clarity Tool present in Lightroom. It will provide tone to your pictures and make them more attractive. But excess of everything is bad so don’t oversue these tools that pictures will look unnatural.
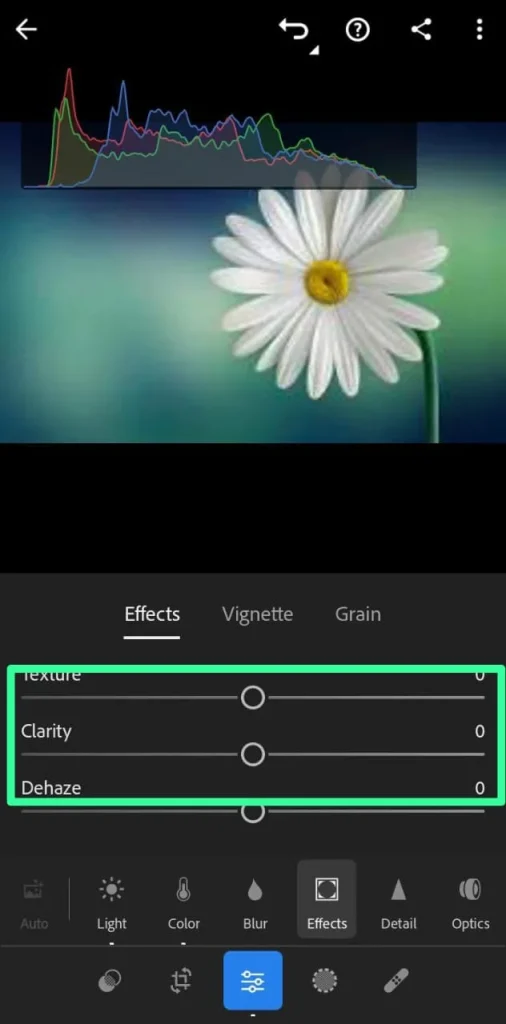
Method 3: Using Adjustment Brush
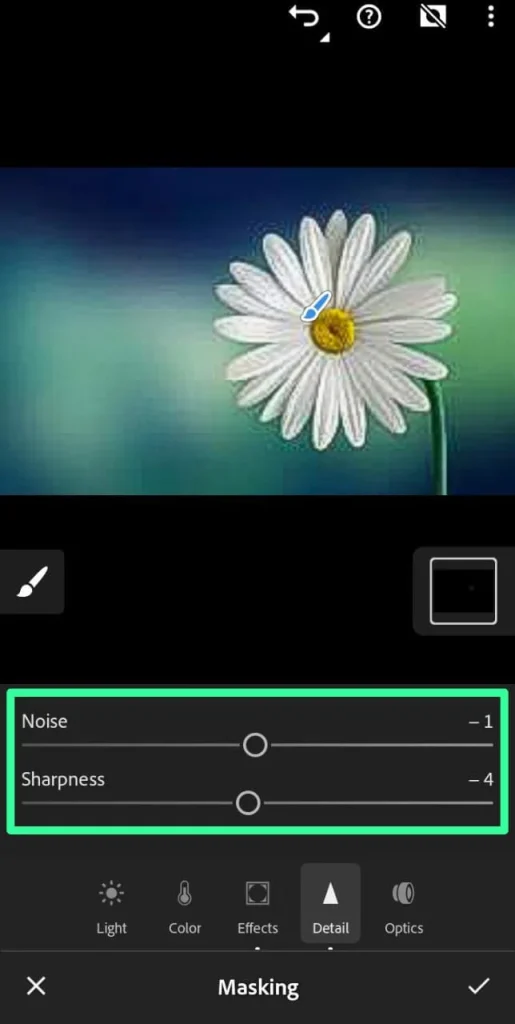
I like the adjustment brush to fix blurry photos in Lightroom. If your picture has a few blurry areas then with an adjustment brush you can fix them easily. You can utilize this tool like any other tool in Lightroom and can access it easily in the development module.
Adjust the sliders to provide greater effectiveness to your pictures. You can also access it using the Lightroom Shortcut key “K”. Then adjust the sliders and pick the brush that has the plus icon on it. Use it on blurry areas of pictures and then click done and finished.
Method 4: Using Presets
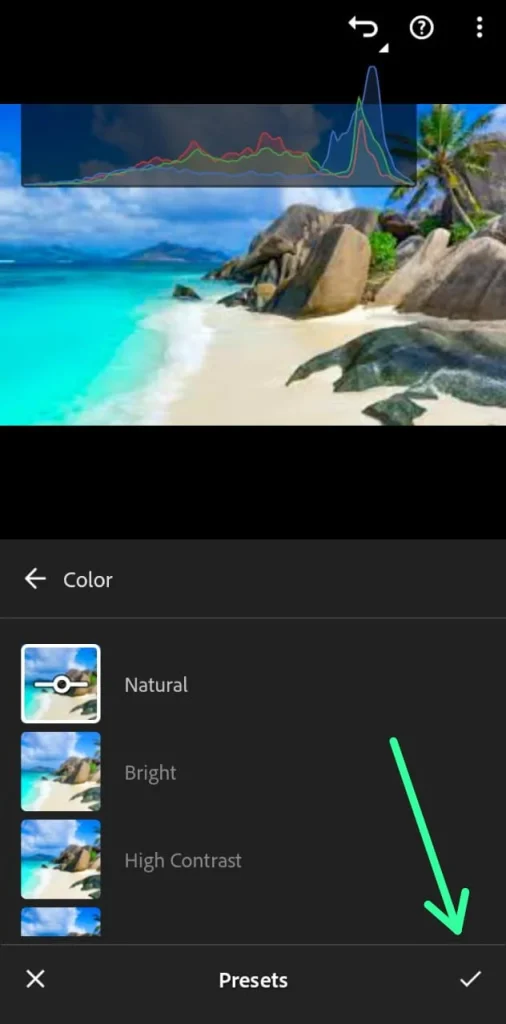
Lightroom Presets are the most effective methods to fix blurry photos in Lightroom that provide complete adjustments. These adjustments provide workflow and excellent edits to your pictures. Download Lightroom presets from my site and use them to fix blurry photos. Then try these steps to use such presets accordingly.
Step 1: Choose the picture you want to edit.

Step 2: Click on the edit button present on the right side of the drop-down menu.

Step 3: Then you will presets button that you must click to see a list of presets.

Step 4: By clicking on any presets Lightroom will adjust it to your picture. If you want to try another preset then you can simply undo it and can try another one.
Method 5: Try the Basic and Details Panel
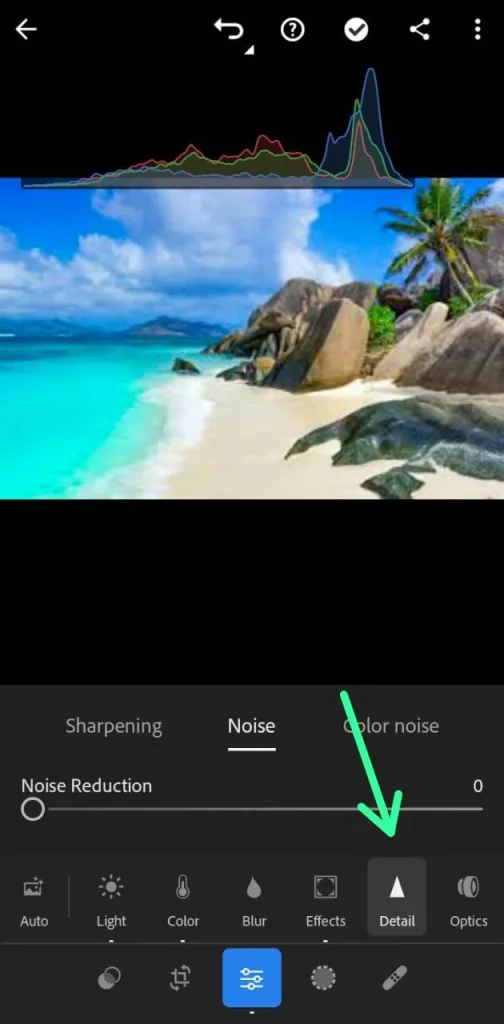
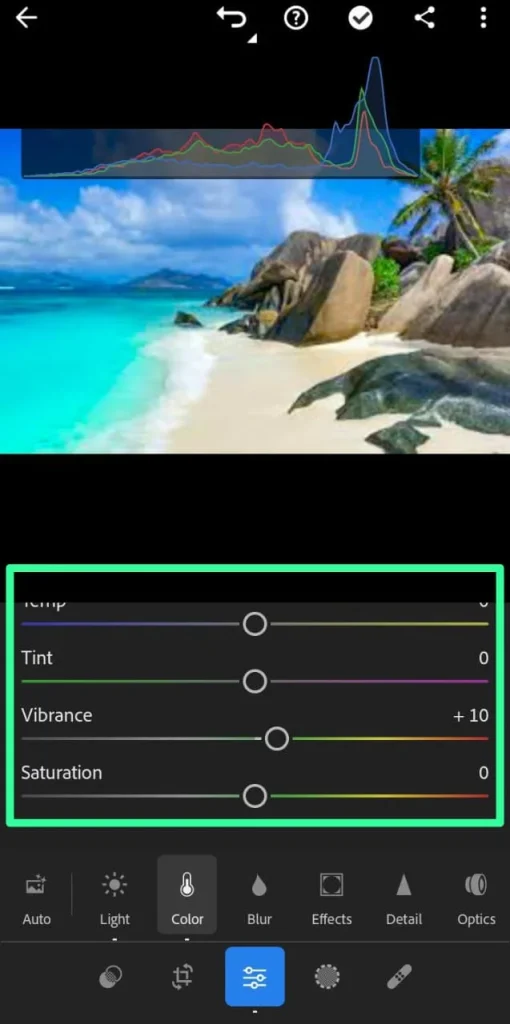
Try another option of the basic and details panel in Lightroom that will provide tones, presence, and white balance to your pictures.
You will find different editing options to fix blurry photos in Lightroom that you need for all types of editing of your pictures. There are effective editing tools that will enhance the quality of your pictures and after importing images you can access all panels on the right side of the developing module.
If you want to sharpen your images then the detail panel will work best because it features noise reduction and provides special edits to your pictures.
Start editing your picture with a basic panel and end it with a detailed panel to fix the blurry photos. But don’t use these tools excessively because your pictures will look unrealistic.
Method 6: Using Radial and Graduated Filter
The last method to fix blurry photos in Lightroom is by using radial and graduated filters. Radial filters make the process easy for you because it is easy to use and can darken or brighten any part of your image.
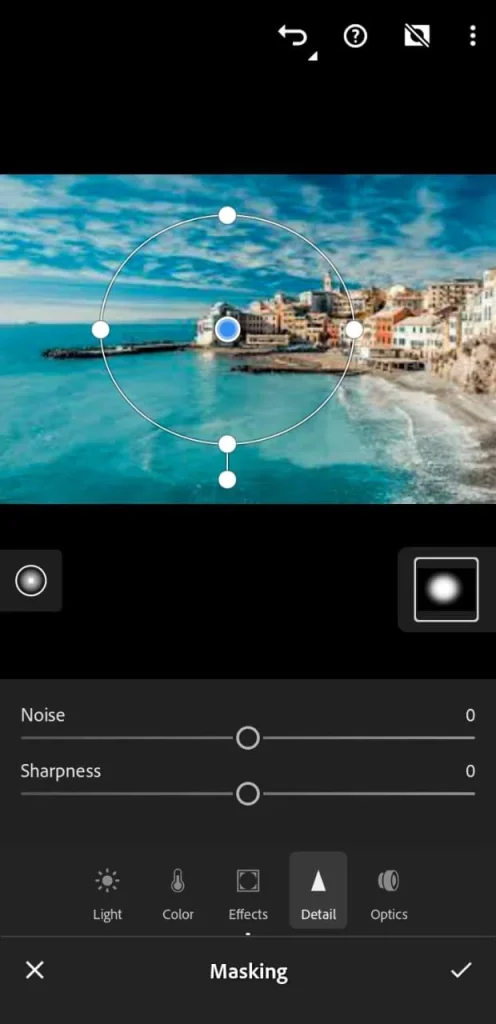
These radial filters are available in the develop module from where you can access them easily and use sunflares to soften the skins in pictures.
On the other hand, there is also a graduated filter present in the development module on the right sidebar as a gray rectangle. There are multiple options available there and you can choose any filter according to your picture to fix blurry photos in Lightroom.
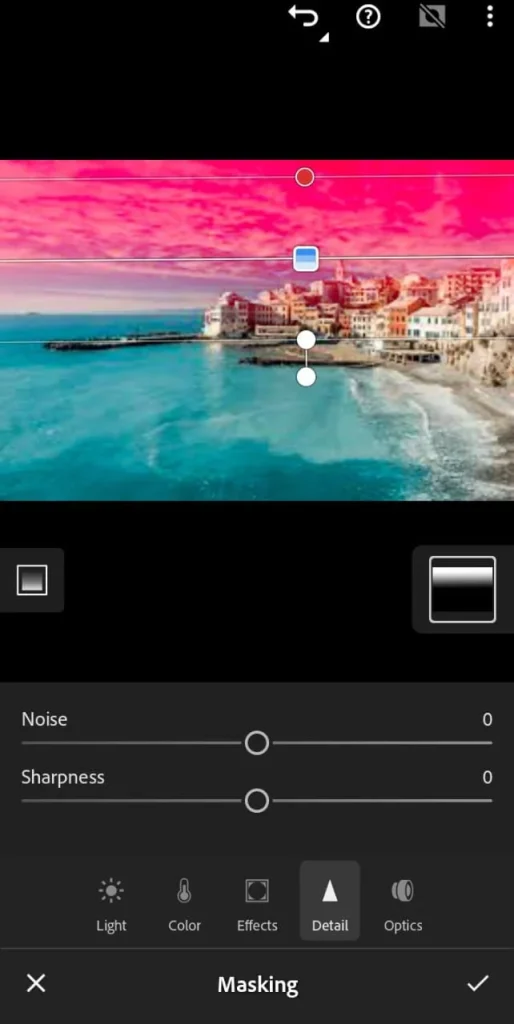
Select the center of your pictures and apply it to any area of your picture. You can also set the feathering in the graduated filter by dragging the outside lines. Then rotate the centreline to rotate the filter.
These are all methods that help to fix blurry photos in Lightroom.
Tips to Avoid Blurrness To Your Pictures
It’s everyone’s dream to have a perfect picture but sometimes we see blurriness in them and want to avoid it. Here I am sharing some unique tips to avoid blurriness in your pictures. These tips will make your pictures more clear and provide a great look to them.
1- Keey Hands Steady
If you don’t keep your hands steady then there are a lot of chances that your picture will be blurry. Don’t shake your hands and keep them steady for a better capture of your pictures. Grap the camera with both hands and don’t cause expansion of the hands because it will result in shaking which is the major cause of blurriness.
2- Utilize a Tripod
Try to use a tripod stand to take pictures because it is free from the worry of shaky hands. Place the tripod stand firmly and make sure his legs are pulled apart exactly.
3- Increase the Shutter Speed
Increase your shutter speed to capture the moving objects. It doesn’t cause blurriness to your picture. If the shutter speed is low then there are lots of chances that your picture will be blurry.
4- Shoot in Burst Mood
I use burst mood to take the pictures especially if I am capturing multiple pictures. It increases the sharpness of my pictures and decreases the chances of a blur. Set your camera to burst mood and capture multiple images at once to fix blurry photos in Lightroom.
5- Take Note of the Focus
Focus yourself while taking images as it is the main reason that you have to fix blurry photos in Lightroom. It will not shake your hands and you will be able to capture beautiful scenes.
Conclusion
I’m 100% sure that now you will be relaxed that you can fix blurry photos in Lightroom. I’ve provided the most amazing methods that you must give them a try to get better sharpness of your images. It will not only fix your blurry photos but will provide a better editing experience.
Besides that, I’ve mentioned some common mistakes that Photographers must avoid while taking pictures. In return, you will get amazing results and don’t need any tool to set the blurriness of your pictures.


